Closet Ideas

Here’s some ideas from a closet we built.

(Click on a picture to enlarge it)

                  IMG_20120307_174611We used 3/4 inch MDF board only.  We cut it down for bracing, trim, shelves…pretty much everything except the hanging rods was made out of MDF board

 IMG_20120306_130949 The biggest challenge was extremely small closet space.  We had to get creative to make everything fit. (Plus there was a designer working on this job, that’s where the “creative” came in!)

 IMG_20120306_161030 Instead of over-cramming stuff, I built a box in the corner and left it empty, dead space.  We only lost that 12″ x 12″ very hard to reach corner.

IMG_20120307_155608 
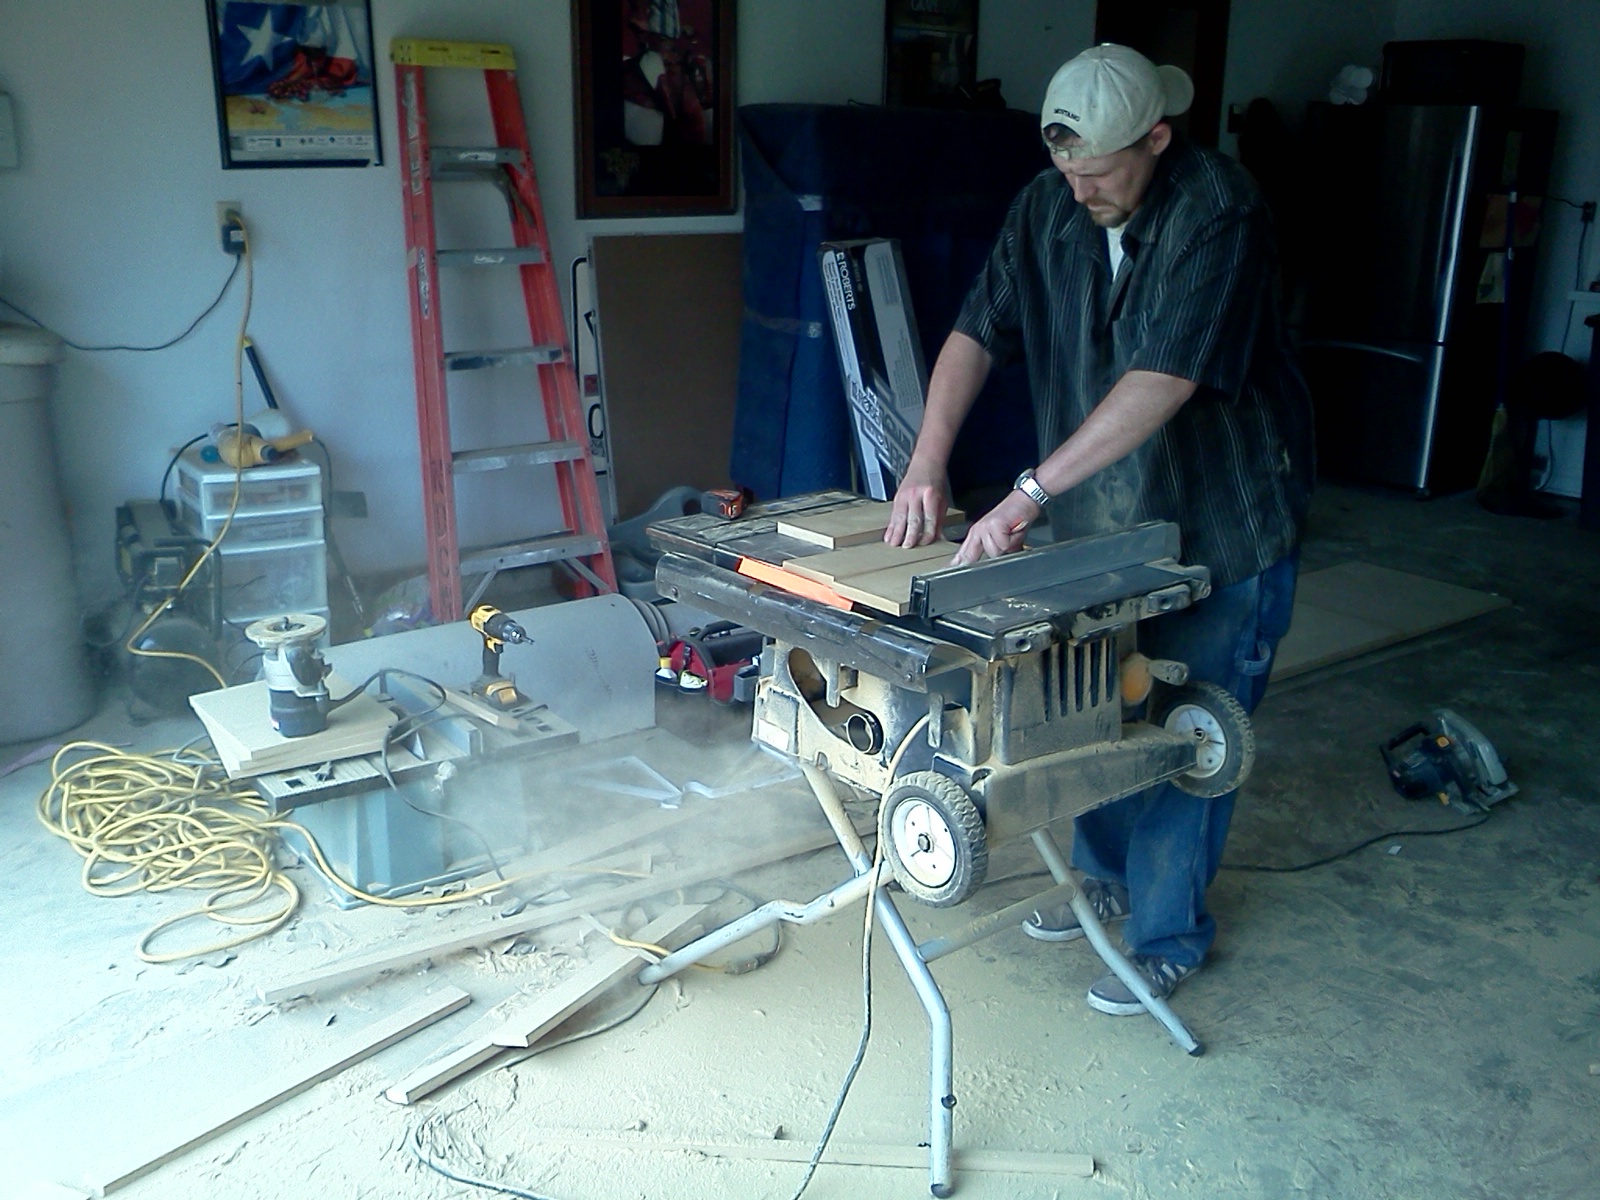
We took over the garage for a couple days and used it as a shop…

 IMG_20120307_174603Here is a finished view before the painters came in…

The shelves on the left are for normal shoes and high-heels.  In the top picture, you can see the shelves on the right that were spaced differently for taller shoes and boots.

The open spaces in the middle are for various length hanging clothes.

The man’s side was similar, but all shelves were custom placed so you could use them from everything from tennis shoes to boots to work boots.

We like to visit Ikea and other large home improvement and furniture stores to get ideas on different styles. It’s so much better to see it in person and see what works BEFORE you pay someone to build it!

We have even had a client that had cut-out cardboard so they could visualize the size of the shelves better!  A great idea!

Happy Closet Building!

Simple Shed Door

Here is an idea for a simple shed door, we built this a couple weeks ago to replace an old rotted door.

Img_121118110543We only used one sheet of plywood siding and 8-1×4’s

I install these with the same 1×4 layout on the back as well as the front.  Then I use coated 1-5/8 inch screws through the front and back.  This gives it more stability but it is still not really heavy.

One of the neat things about this design is that you can use a 1/2″ sheet of plywood siding and it still holds itself rigid.

We caulk the seams and screw holes and paint it.  Everything together comes to less than 90 dollars, including the latch, hinges and paint.

Happy Door Building!

My Favorite Drill

One of the benefits from being in the remodeling/handyman business for many years is being able to sample a wide variety of tools!

  I have tried many many cordless drills and this is my favorite so far.  It’s great for daily moderate to heavy use.

drill

Click here for a link to Lowe’s version of this product.

(It is also available in other hardware stores)

The lightweight feel and triple-no-shadow LED lights make this a product that you will never tire of using!  It is also an impact-style of drill and can drive 3 inch drywall screws into a 2×4 with ease.

   It can get quite loud, but the benefits far outweigh the advantages.

chuck

I use this adapter, works quite well,

(it is also available in other stores)

I use this chuck for quick-connecting conventional drill bits when needed…

  The only drawback I have ever found is that if you use it more than 30 minutes straight, it can get quite hot in your hand where the skin between your thumb and forefinger meet.  I have come home many times with my skin red from use and now have some pretty good callouses!

  Overall I would highly recommend this product…

Happy Drilling!

Roof Leak!

We run across this all the time…a leaky roof that was repaired with roof tar or another cheap sealer…

In the hot summer, most of the black tar you buy in buckets and cans and even some of the white and silver products, simply will not hold up to the heat.  It begins to break down after only 1-2 years.

IMG_20120106_152803

This patch was done just 2 years ago and is already cracking.  Water had begun to leak back into the house.

4FJK2_AS01

Click Here to view the product…

This is one of the great products that seems to actually work, I had a report this morning from a friend that said that after applying this product and letting it dry a couple days, they could put their bare skin against it without getting burned in direct sunlight in 100+ degree weather!

It is a great product for sealing roof leaks as well.

The only thing you may want to be aware of is that won’t match your roof, so take care to use it where it won’t be seen by people passing by..

Happy Sealing!!


Popcorn Ceiling Removal

It’s one of those days… sleeting outside, popcorn ceiling coming down inside…
Two biggest tips to popcorn ceilings…1, lots and lots of plastic.  Few jobs get messier, I’d like to see Dirty Jobs do one… 2, Find someone to do it for you..unless you are really don’t mind getting dirty and have a lot of upper body strength for scraping over your head!

popcornIt can be done…we spray it down with a pump up spray bottle of water then carefully scrape it.  It’s easy to gouge it with a scraper.. Next we go over all the bumps and scrapes with sheetrock mud, normally a 40 minute mud so we can shoot it with texture the same day.
Just a cheep 50 dollar texture gun will do the trick, and it can be rented as well.
A corner of the ceiling can be shot several times and pulled back off with a sheetrock spatula until you get the desired look as you experiment with thicker and thinner mud.
More to follow…
Happy Muscle Building

Collapsed Ceiling (Think YOU had a bad day?)

Had this call a while back.  a good portion of the living room ceiling collapsed causing a huge mess.

ChIt is interesting to note that we were suffering an extreme heat wave at the time of this disaster.  The only things we noted were seriously warped ceiling joist with sheetrock nails popping through the plaster.  This was probably aggravated due to the house standing without proper insulation for many years.  The house has gone through upgrades over the years, but not before the damage from years back had taken it’s toll.

It is a common problem to see this in garages, because many are not insulated.

If you ever see nail holes appearing in a ceiling or can detect bowing and warping in a ceiling, do not delay in checking out what the cause of the problem is.

As you can see in the picture, a disaster could have been avoided if the bowing had been noticed.

Extensive work had to be done, ceiling joist had to be cut out and replaced.  Most of the sheetrock had to be replaced and re-textured.

It helps to notice the small tell-tale signs!!

Happy Cleaning…

Hot Water Heater Repair (electric)

Here is a Hot Water Heater I repaired today.  The problem was that the water was hot at first then quickly got cold.

IMG_20130218_101524Here’s what I found….

IMG_20130218_103720The first thing was that the thermostat here had failed.  It no longer “clicked” when you turned it all the way up and all the way down.  I found that it had failed in the “on” position and it also caused the Heating Element to burn out.

There was two elements, one worked and one didn’t…that’s why the water was hot at first, then quickly got cold.

Removing the thermostat is simple, make sure the power is off, double check then re-check that the power is off!!!  Unscrew the wires and pull the tabs up (shown with arrows) and slip it out…

IMG_20130218_101541The heating element is shown here.

But first….you must drain your tank….

IMG_20130218_135825Today I had a more difficult problem because the drain had frozen, so instead of doing it the easy way with a water hose, I actually had to remove the element and let the water fly!!  It took 11,  5 gallon buckets almost full of water to remove it all….Got quite messy…

Remember to make sure you turn off the cold water supply to the hot water heater.  Releasing the pop-off valve at the top of the water heater can allow an air-break allowing the water to drain faster as well.

Again, making sure the power is off, remove the wires.  Then as you can see a couple of pictures above here…. there is a large nut that is actually built onto the element.  Turn ONLY the silver nut part, do NOT use the plastic casing around the wires to turn the element.

IMG_20130218_144011This is the new heating element going back into the hot water heater…Make sure you match the exact wattage element…

Remember to re-fill the heater before you turn it on!!

I leave the pop-off valve open and turn the water back on, then wait 5 or so minutes until it gets full and quickly shut it off when I hear water going through it.

Make sure all your shields are back in place, turn the breaker back on, (hopefully there are no sparks…haha)  and listen for the water to start to boil!!

“Happy Hot Shower!”

A Gallon of Paint and Some Scraping

It’s amazing what a 24 dollar gallon of paint and a little elbow grease will do…

shedThis old shed was an eyesore, but with just an hour and a half of work and a few dollars for paint….even the neighbors are happier!

shed 2“Happy Scraping”

Rot Repair Trick (Siding)

Siding has a tendency to rot along the bottom where rain splashes up and moistens the bottom of the wood that normally does not get painted.  In the picture below you can see an extreme example of this.

rot 1 (2)When the budget is small, there is a way around changing out the entire sheet of siding and it can also prevent further damage to the house.  In the picture below, you can see where we went over the rot with treated 1×4’s and it now looks like it belongs there.

rot 1You must take care to caulk the top edge really well so additional water does not penetrate, and also make sure when you cover the rot that there are no openings that ants or other small insects can get through.   Take care to paint the UNDERSIDE of the board as well that faces the ground so it will keep it from rotting in the future.

“Happy Fixin”

Gate for a Headboard?

Installed a gate used as a headboard last week!  Pretty interesting look.

imageWe left it as-is, no sanding, scraping or prepping…just coated it with 3 layers of clear coat to keep the rusty areas from flaking off…